Car & paint · 2 min read
What grit sandpaper for car paint?
From body filler to finish: the grit sequence for a paint repair – and why you never skip a step.
Last updated: · published
The sequence is what matters
Car paint is not sanded with one grit but with a sequence. Each step removes the scratches of the one before; skip a step and you will see the coarse scratches through the clear coat later. Rule of thumb: never more than double the grit, so from P80 to P120 or P150, not to P240.
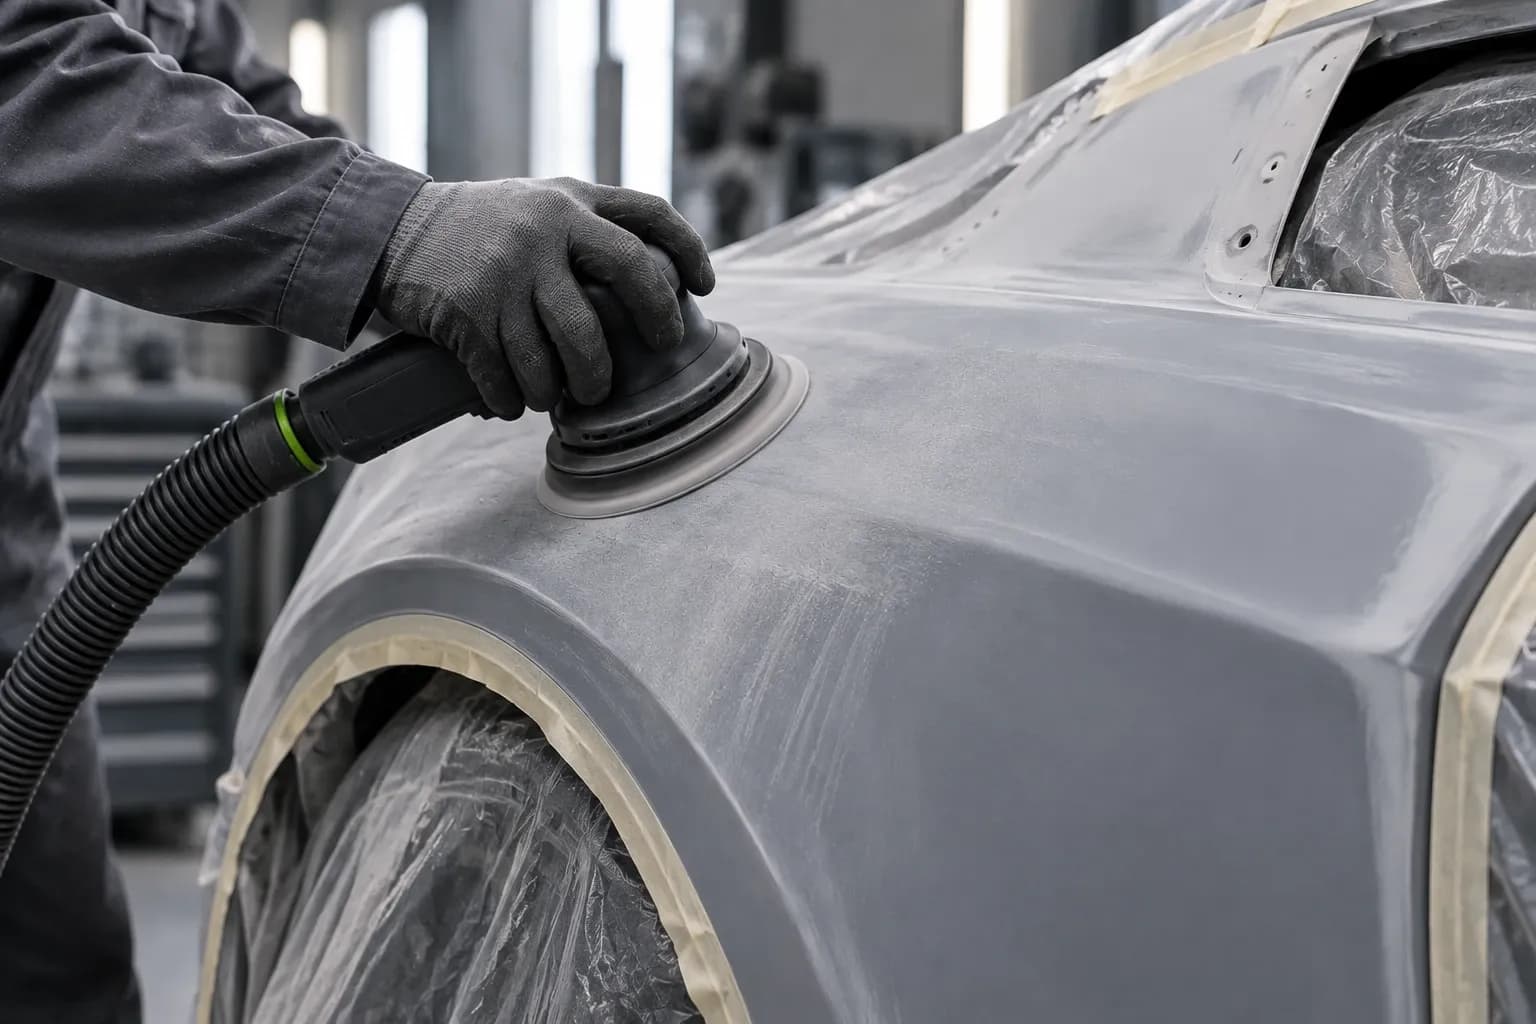
For a typical repair: P80 to shape the body filler, P120 and P180 to feather the edges, P240 before the primer surfacer. Smooth the primer surfacer with P320 and P400, and key the old paint with P400 to P600 so the new paint adheres.
Clear coat: paint defects and finish
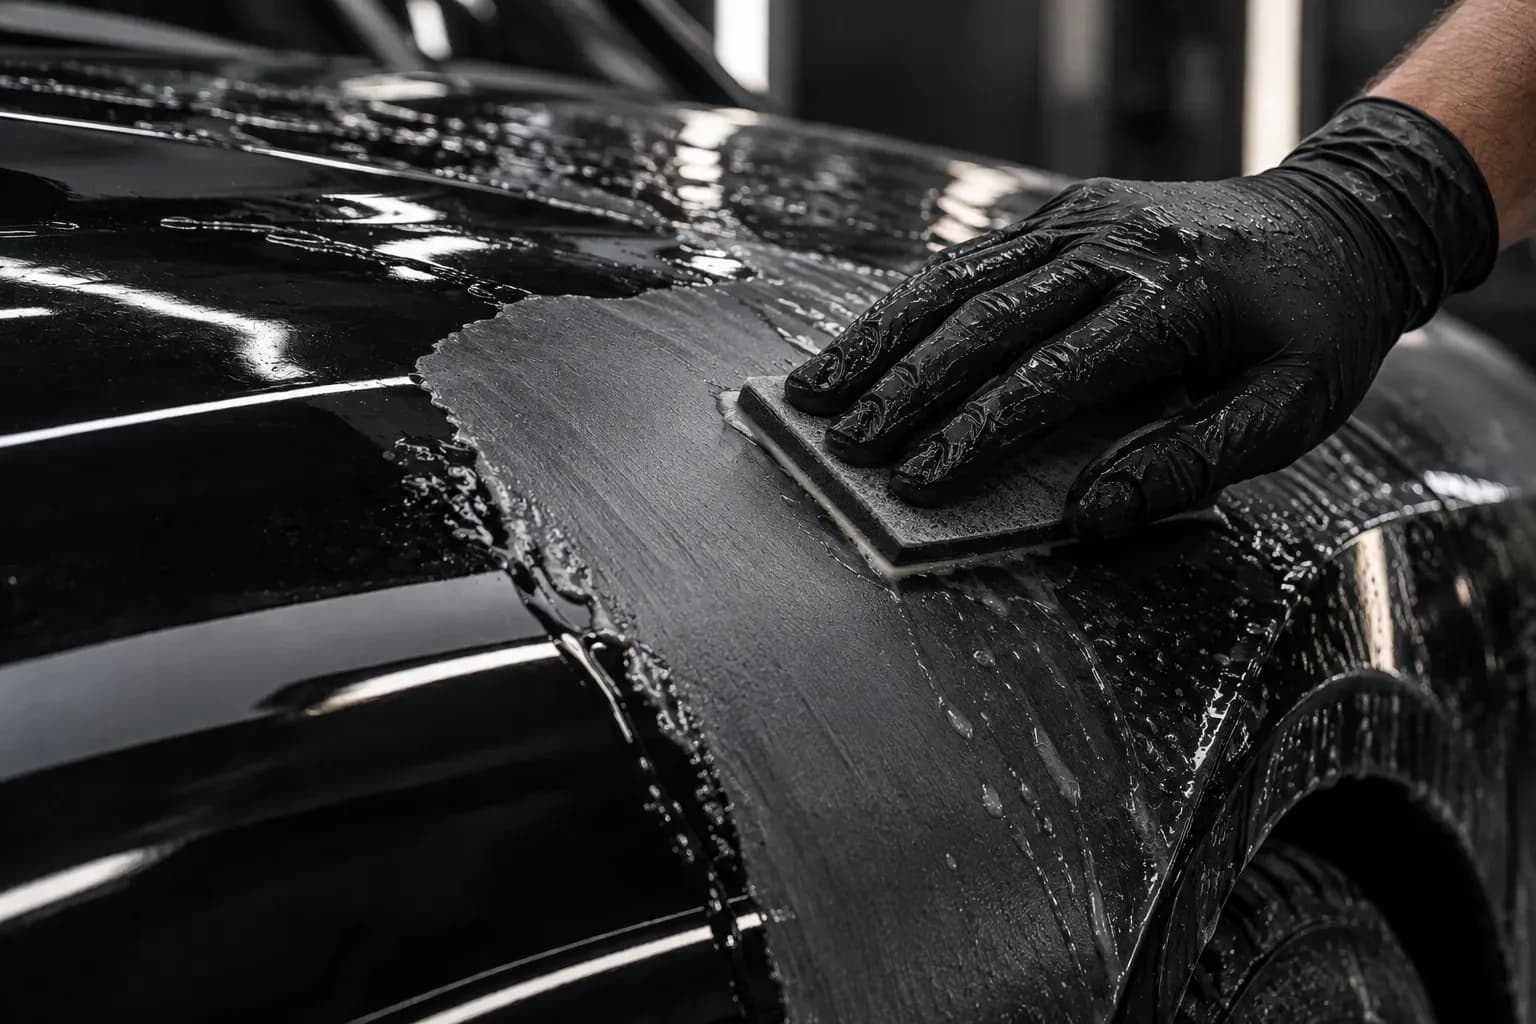
Dust nibs and runs in the clear coat come out with P1500 to P2000, wet and with light pressure – first spot-sanded on the hand block, then level the whole area with P2000 on the soft foam pad (if you have P3000, it shortens polishing even further). Then polish: the scratches are so fine that the polish takes them out.
Which abrasive
For body filler and feathering, the paper disc (PRO CUT); for primer surfacer, the mesh disc (PRO NET) – it does not clog with dust. For top coat, clear coat and anything from P600 up, the film-backed disc (PRO FILM) or the foam pad (SOFT FINISH): flat backing, even scratch pattern, wet sanding too.
Machine, orbit and backing pad
For body filler and primer surfacer, a random orbital sander with around a 5 mm orbit and a hard or medium backing pad – it keeps the surface flat. From P400 and for clear coat, use a small orbit or the same machine at low speed with a soft interface pad, so the disc follows curves and does not sand through on edges.
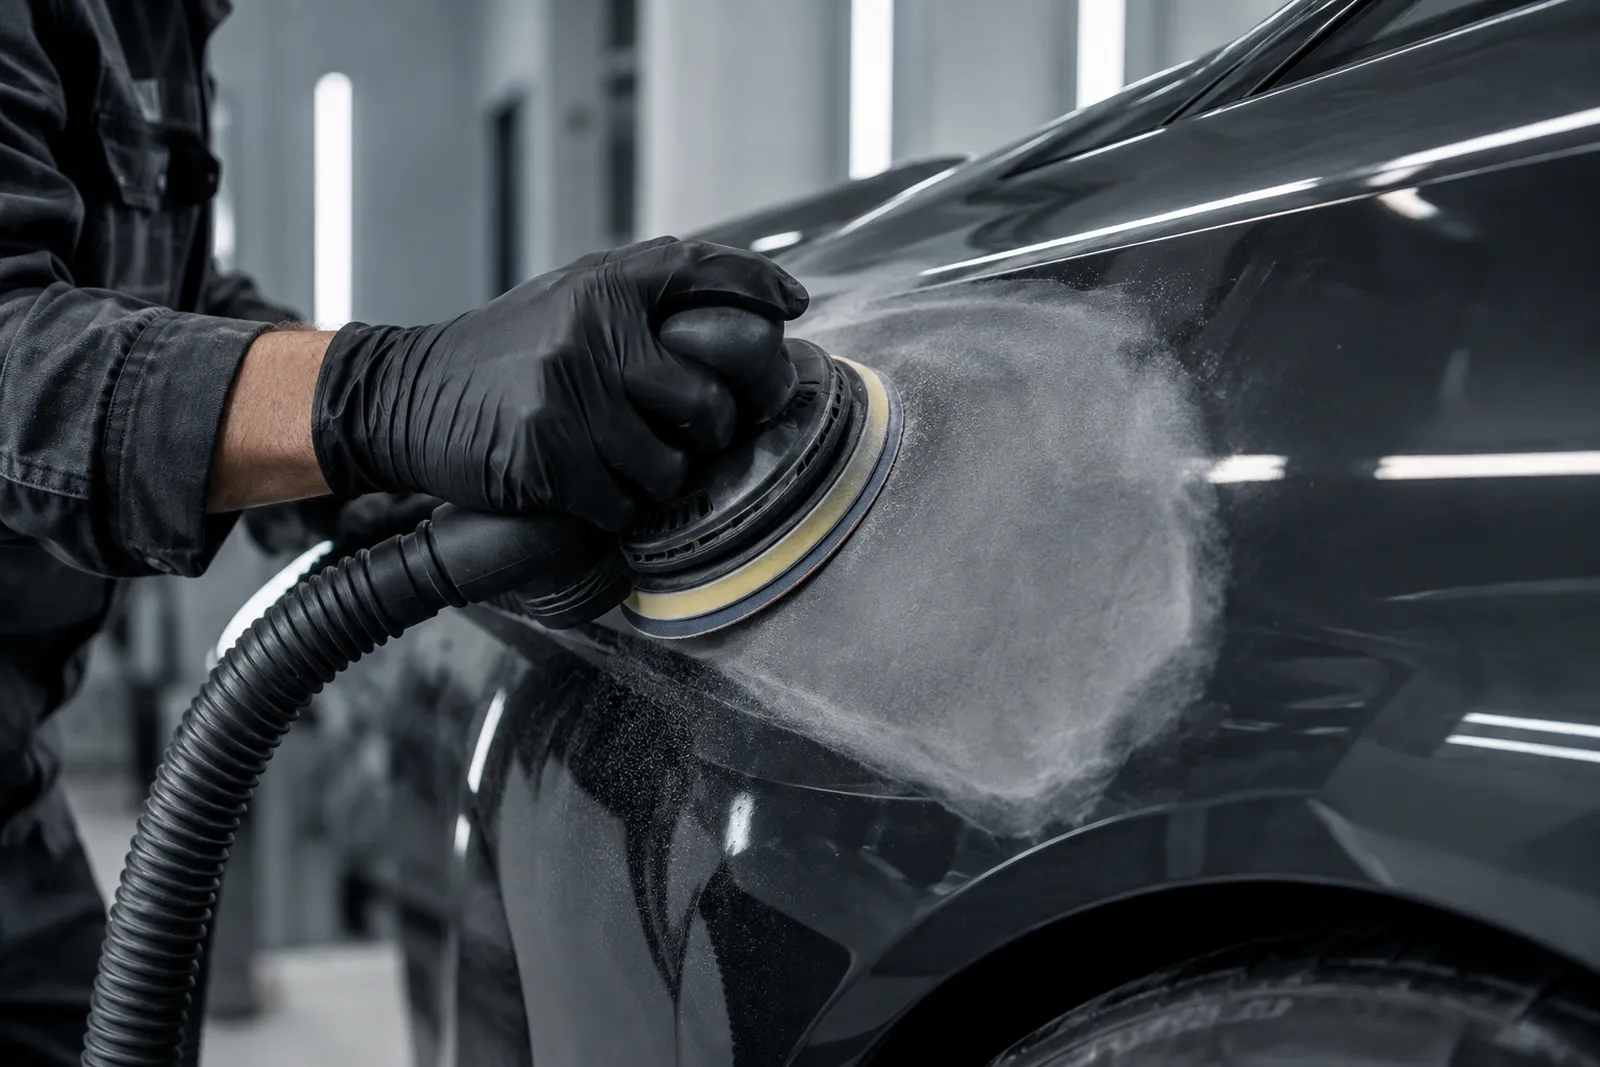
Always use dust extraction: otherwise the dust between disc and paint rolls along and leaves pigtails that only show once you have painted.
The most common mistakes
Too much pressure: the disc barely spins freely any more, cuts pigtails and gets hot. The weight of the machine and a guiding hand are enough.
Running clogged discs for too long: they stop cutting and start polishing and smearing – and individual lumps drag scratches. Change them sooner rather than later.
Moving on without checking: before every step to a finer grit, apply guide coat and sand until it is gone everywhere. Whatever stays dark is a dent or a scratch from the previous grit.
FAQ
Can I skip steps in the grit sequence?
A jump of up to roughly double the grit is fine (P240 → P400). Bigger jumps leave scratches from the previous grit that you only see under the paint.
How many discs do I need for a bonnet?
Roughly two to three 150 mm discs per grit – fewer with dust extraction and abrasive mesh, more if the primer surfacer clogs them.
Terms in this article
- Deep scratches
- Primer surfacer
- Scuff sanding (keying)
- Paint run (sag)
- Polishing
- Orbit (stroke)
- Speed
- Interface pad
- Dust extraction
- Swirl marks
- Guide coat (control powder)
The whole sequence at once
7 grits, 1 × smallest pack each: PRO CUT 150 (10 pcs) P80 · P120 · P180 · P240 · P320 · P400 · P600.
Or as a set: Car paint starter set (P120–P600) for €69.90 →
incl. VAT, plus shipping