Car & paint · 1 min read
Blending paint: keying the transitions properly
Three zones, getting finer from the inside out: primer surfacer with P400, blend zone with P600 to P1000, clear coat transition with P1500 – so the edge stays invisible.
Last updated:
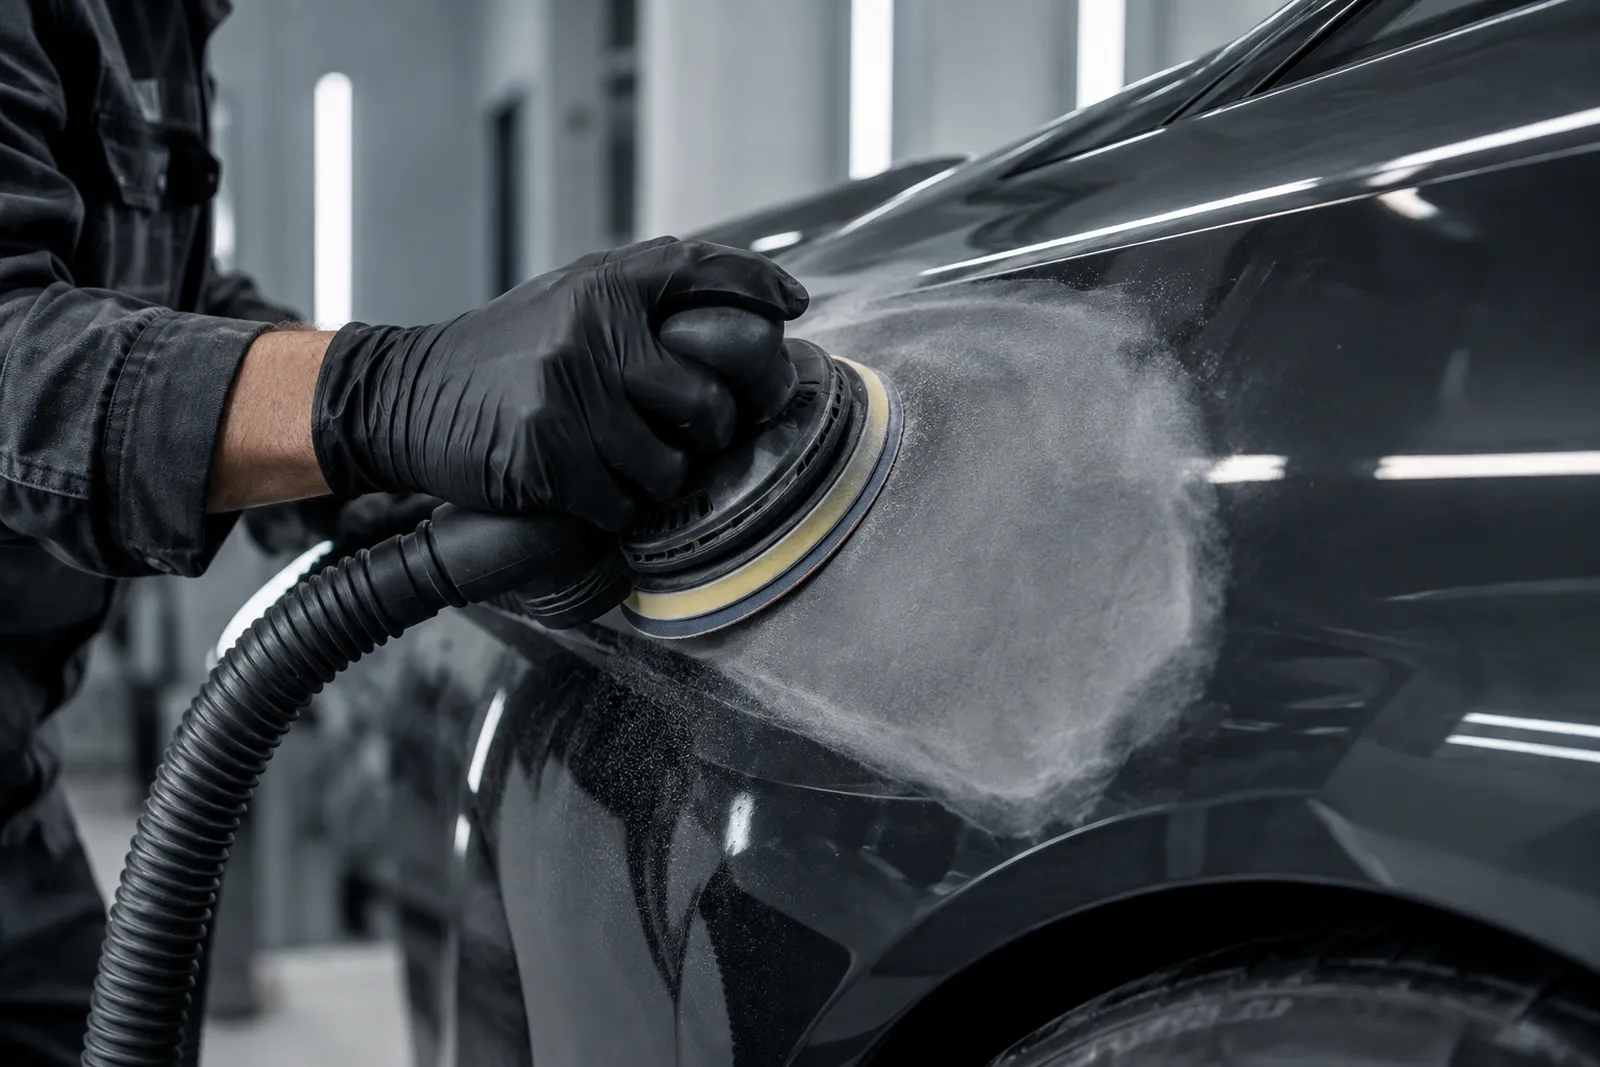
Three zones, getting finer
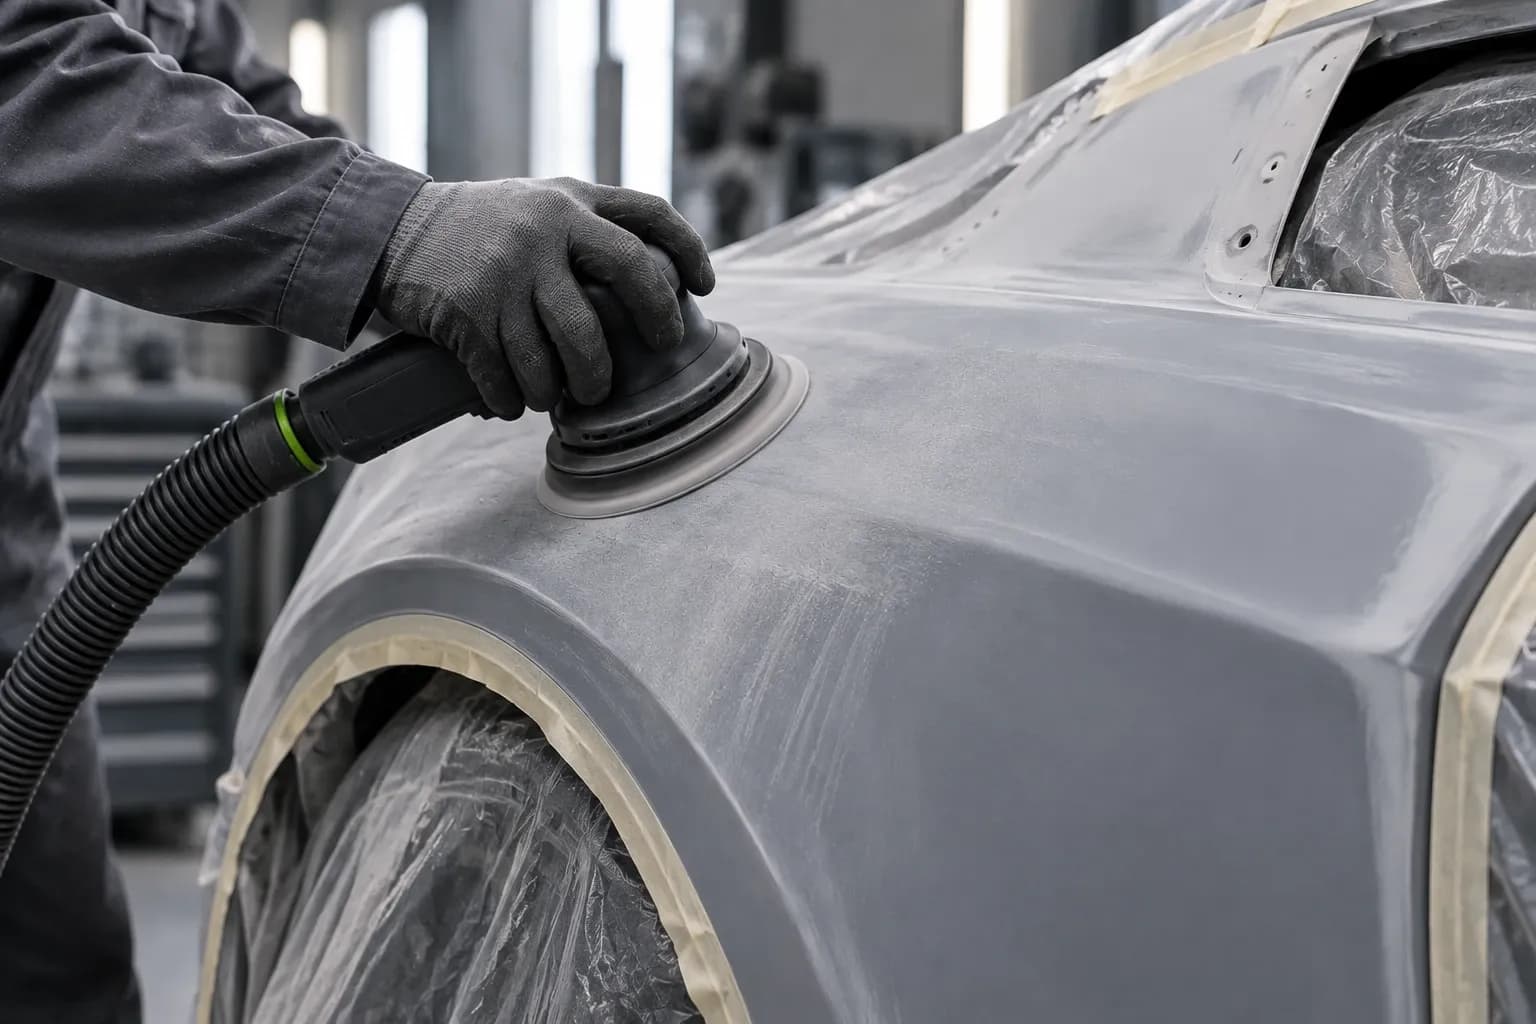
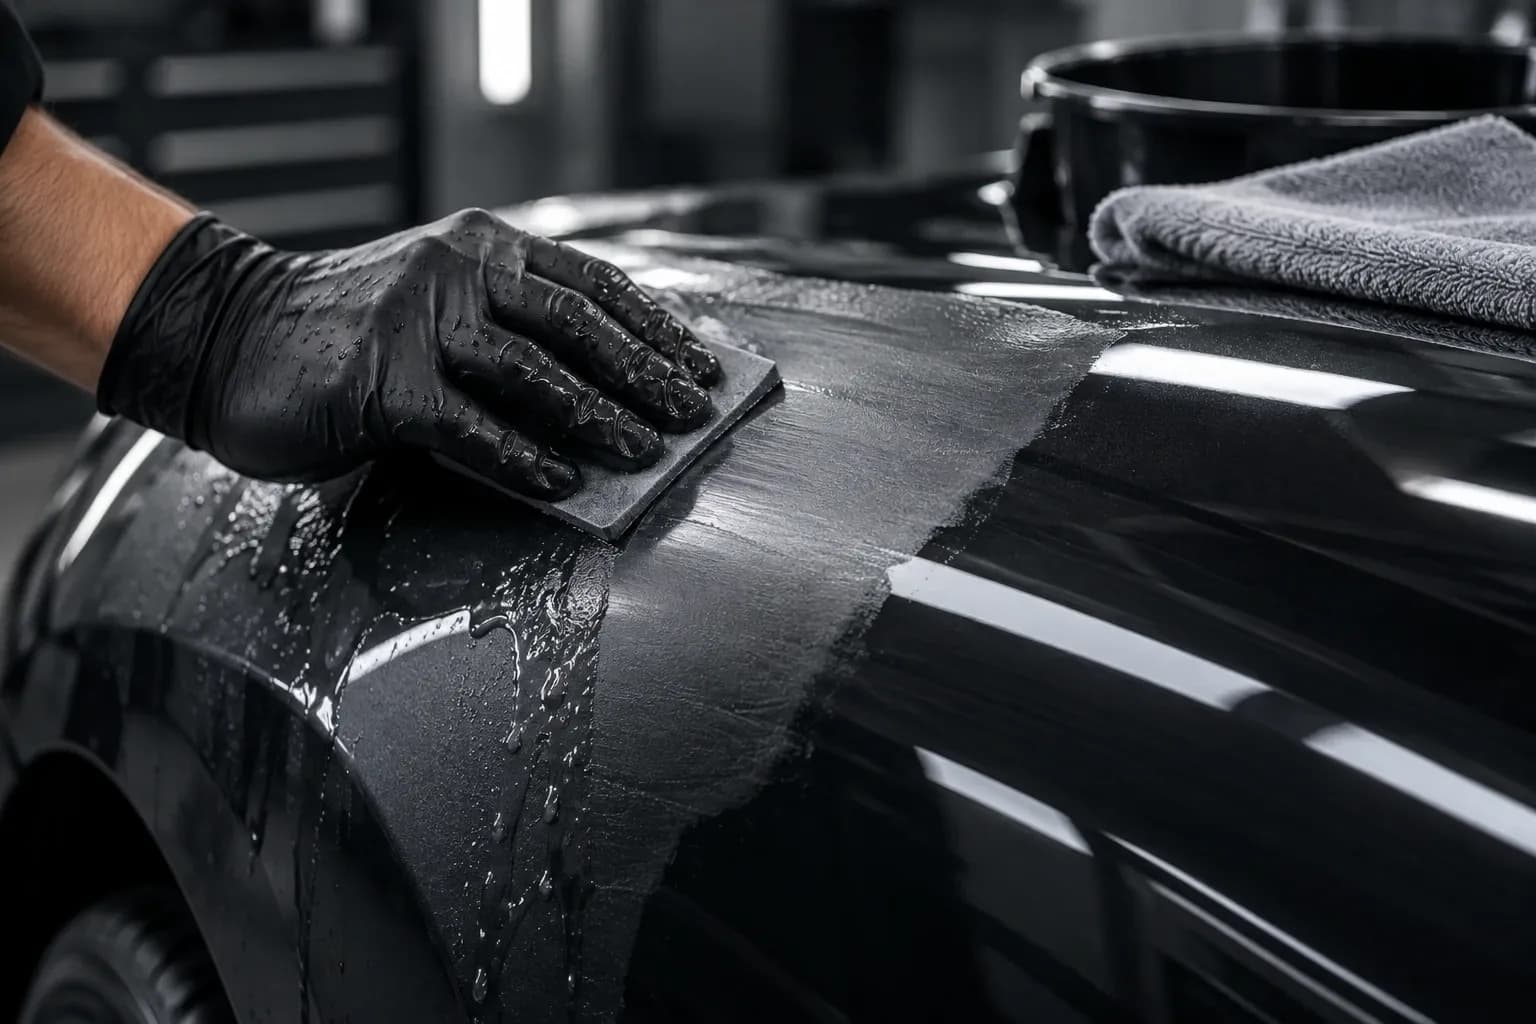
In the middle, the repair: sand the primer surfacer smooth with P400. Around it, the blend zone where the base coat fades out thinly: evenly matt with P600 to P1000 or fine non-woven abrasive. Right at the outside, the zone that only gets clear coat: P1000 to P1500 or ultra-fine non-woven abrasive.
The further out, the finer – because that’s where there’s the least paint. Coarse scratches in the fade-out show through the thin base coat; with metallics, as light clouds or scratches in the transition.
To an edge, or a spot repair
Ideally let the clear coat run out to an edge or panel gap on the part – no edge will stand out there. A clear coat transition in the middle of a panel only works on small spots and needs blending thinner and polishing afterwards.
If the whole part is being clear coated, matt the entire surface outside the repair with P800 to P1000 or non-woven abrasive.
Checking before painting
The surface must be evenly matt everywhere. Shiny spots are places where the paint won’t adhere. Then degrease thoroughly, wipe with a tack cloth and paint.
FAQ
What do I use to get into swage lines and along edges?
Non-woven abrasive – it adapts to any shape and doesn’t sand through on edges as quickly as paper. Work wet or with matting paste until everything is evenly matt.
Terms in this article
All terms in the sanding glossary →The whole sequence at once
4 grits, 1 × smallest pack each: PRO FILM 150 (10 pcs) P400 · P600 · P1000 · P1500.
Or as a set: Car paint starter set (P120–P600) for €69.90 →
incl. VAT, plus shipping