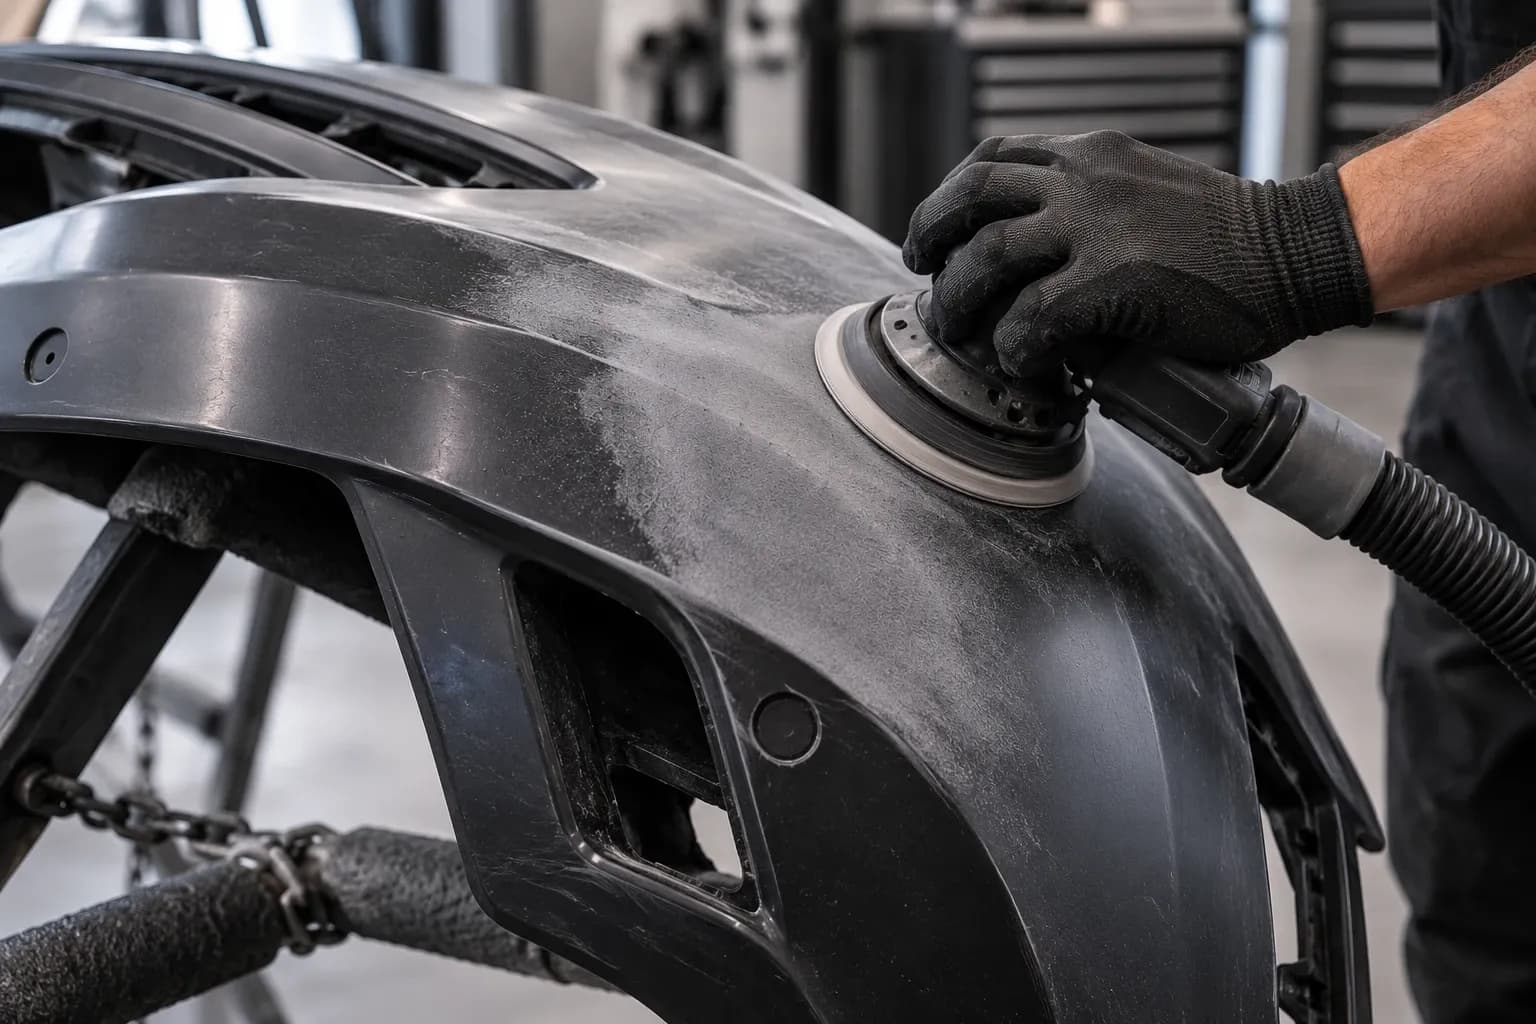
Properly prepared.
Plastic
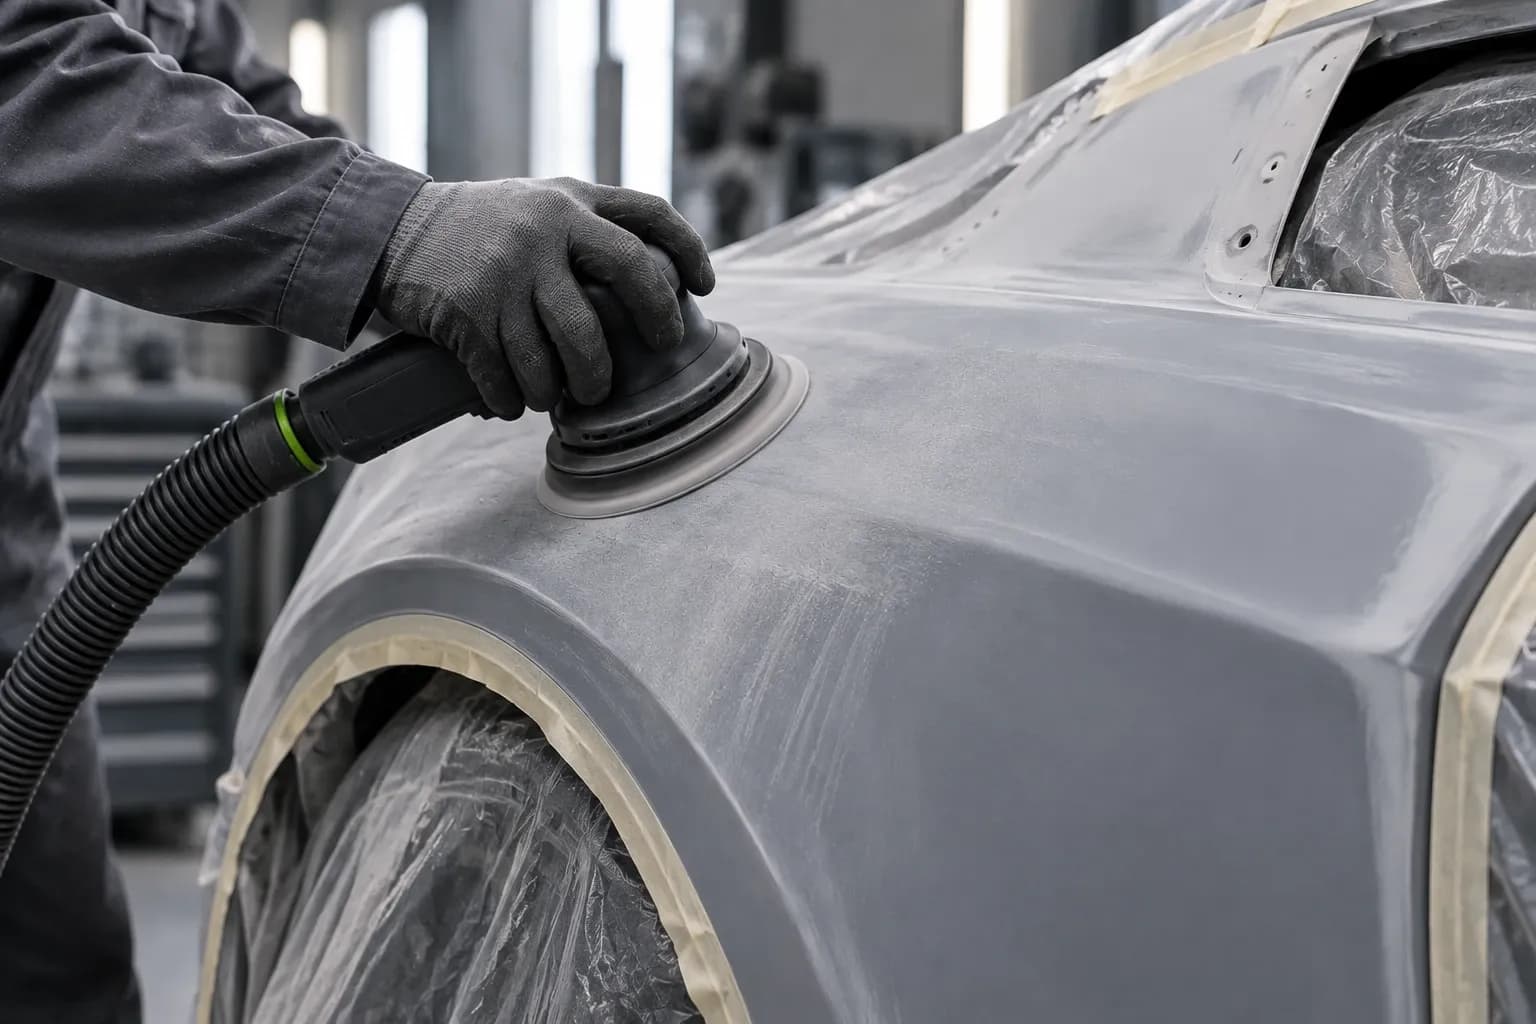
Key plastic bumpers and trim ready for paint, or fine-sand them – with light pressure. For painters, body shop pros and anyone refinishing add-on parts themselves.
3 work stepsGrit P180 to P1000Finish set for high gloss €59.90
The film
Sanding for plastic
Prepare bumpers and trim cleanly – with light pressure for optimum adhesion.
How to go about it
3 stages from coarse to fine – and where you start depending on the condition of the surface.
Work steps
3 steps in working order – from coarse to fine. For each step, the grits and the matching product.
- 1
Remove scratches and burrsDry
Smooth mould flash and deep scratches with P180, then work out the marks with P240 and P320. Plastic rarely needs anything coarser than P180.
Move on when: No burrs and no deep scratches left – under raking light only the even P320 scratch pattern.
- 2
Paint preparationDry
Key the whole surface with P320 to P400 until nothing shines any more. Then clean it and apply adhesion promoter.
Move on when: The surface is evenly matt everywhere – no glossy spot left, not even on edges and swage lines.
Tip: Edges and swage lines with non-woven abrasive instead of a disc – that way you won't sand through there. In the system: Key paint & plastic →
- 3
Fine sanding without paintDry, fine grits wet
For visible parts that won't be painted: fine and even with a film disc or foam pad, ideally wet – without heat.
Move on when: Wiped damp, an even, fine scratch pattern with no stray scratches – then polish.
Dashed grits belong to the work step but are not yet in the range for Plastic – the link explains what the grit does.
The whole sequence at once
3 grits, 1 × smallest pack each: PRO FILM 150 (10 pcs) P240 · P320 · P400. We don’t stock P180 for this yet.
Or as a set: Finish set for high gloss (P1000–P2000) for €59.90 →
incl. VAT, plus shipping
Matching products
7 products for Plastic – recommended ones first, each card starts with the grit you need first here.
Abrasives
- 152 × 229 mm
- Dimensions
- 10 pcs
- Contents
- very fine (grey)
- Type
€1.49 / pc · incl. VAT, plus shipping
- Bestseller
- P240–P1500
- Grit
- 150 mm
- Diameter
- 10 pcs
- Contents
€1.59 / pc · incl. VAT, plus shipping
- Bestseller
- P400–P2000
- Grit
- 150 mm
- Diameter
- 10 pcs
- Contents
€1.49 / pc · incl. VAT, plus shipping
- P400–P2000
- Grit
- 230 × 280 mm
- Dimensions
- 25 pcs
- Contents
€0.80 / pc · incl. VAT, plus shipping
Accessories · Machines · Sets & bundles
What matters with Plastic
What counts beyond the grit – technique, typical defects and the related guides.
Tips from the workshop
01
Clean first
New parts carry release agent from the mould. Wipe them with plastic cleaner before the first sanding – otherwise the abrasive just rubs it into the surface.
02
Low pressure, low speed
Plastic conducts heat poorly: with a lot of pressure and high speed it softens, the grain clogs and it smears. Use a random orbital with a small orbit on a low setting, and change the disc more often.
03
Remove dust antistatically
Plastic builds up static when sanded and holds on to the dust – blowing it off is not enough. Wipe with an antistatic cloth or antistatic cleaner before adhesion promoter and paint, otherwise every speck ends up in the paint.
04
Don't forget adhesion promoter
After keying and cleaning, bare plastic needs adhesion promoter before primer or paint – otherwise the paint flakes off at the first stone chip.
What can go wrong
View all sanding defects →The new paint won’t stick or beads off
The fresh coat pulls together, beads off in places or can later be lifted with a fingernail.
Usually: Shiny spots were left – anything still shiny has not been keyed and gives the paint nothing to hold on to.
Plastic smears and fuzzes instead of sanding
Instead of sanding dust you get fuzz and shiny smeared patches, and the disc clogs within seconds.
Usually: Plastic conducts heat poorly: high speed and heavy pressure soften the surface.
Related guides · 6 articles
Sanding plastic: preparing bumpers properly
Bumpers and trim panels smear, warp and reject paint if you treat them like sheet metal. Grit, pressure and the steps that follow.
P180 → P240 → P320 → P400
Read · 1 min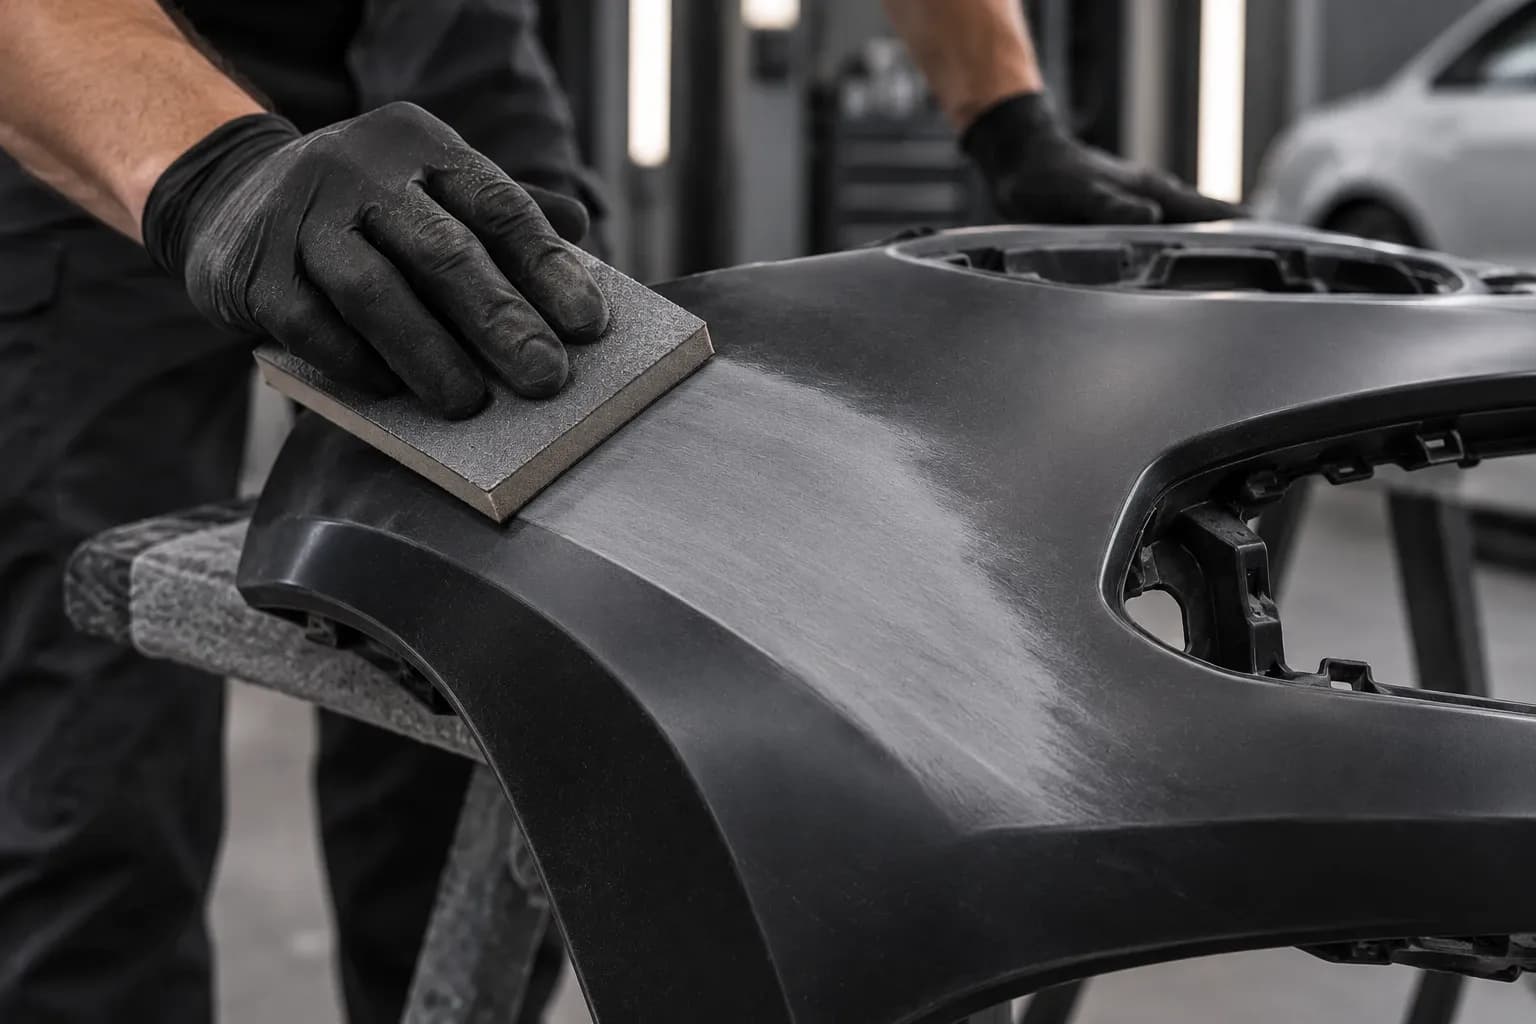
Restoring headlights: which grit?
Wet sand from P800 to P2000, then polish – and seal afterwards, or the lens will be cloudy again after one summer.
P800 → P1000 → P1500 → P2000
Read · 1 min
Sanding GRP: boats, motorhomes, body parts
Keying gelcoat, levelling repairs, refining before paint: the sequence from P80 to P600 – and why the dust must stay out of your lungs.
P80 → P120 → P180 → P240 → P320 → P400 → P600
Read · 1 min
FAQ on Plastic
How do I key plastic so the paint holds?
After cleaning, matt it evenly with P320 to P400, and hard-to-reach areas with non-woven abrasive. Then adhesion promoter for plastics, followed by primer or paint.
Why does plastic smear when sanding?
Too much pressure or speed creates heat and the plastic softens. Sand at low speed, with light pressure and a fine grit – or wet, which keeps it cool.
Do I need to key new, factory-primed plastic parts?
Yes, lightly: matt the factory primer evenly with P400 or non-woven abrasive without sanding through it. Where it does break through, apply adhesion promoter there before primer or paint.
How do I sand yellowed plastic headlights?
Mask all round, then wet-sand in stages from P800 via P1000 and P1500 to P2000 – each stage until the scratch pattern of the previous one has gone. Then polish and protect with UV-resistant clear coat or a sealant, otherwise the lens soon yellows again.
How can I tell which plastic it is?
By the marking on the back, such as >PP<, >PP-EPDM< or >ABS<. Soft, flexible bumpers (PP, PP-EPDM) heat up quickly and fray – use especially light pressure and always adhesion promoter. Hard parts such as ABS sand more like paint.
More applications
Different surface, different process – each application with its own work steps and grits.
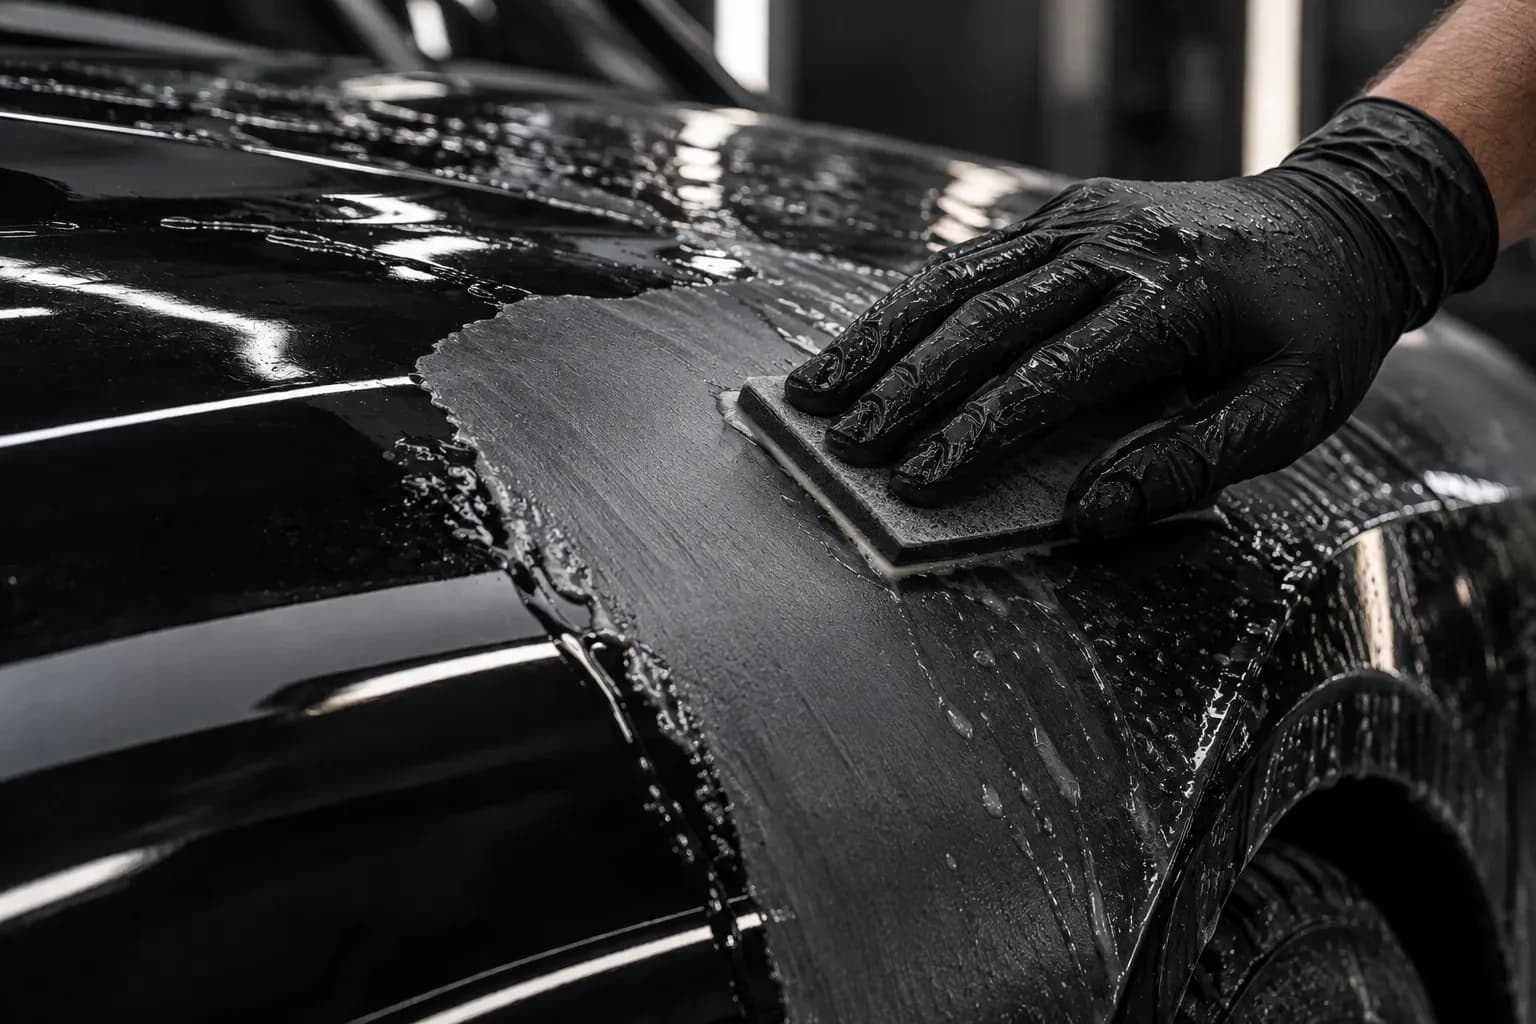 Car & paintPerfect surfaces – from repair to finishP80 – P3000
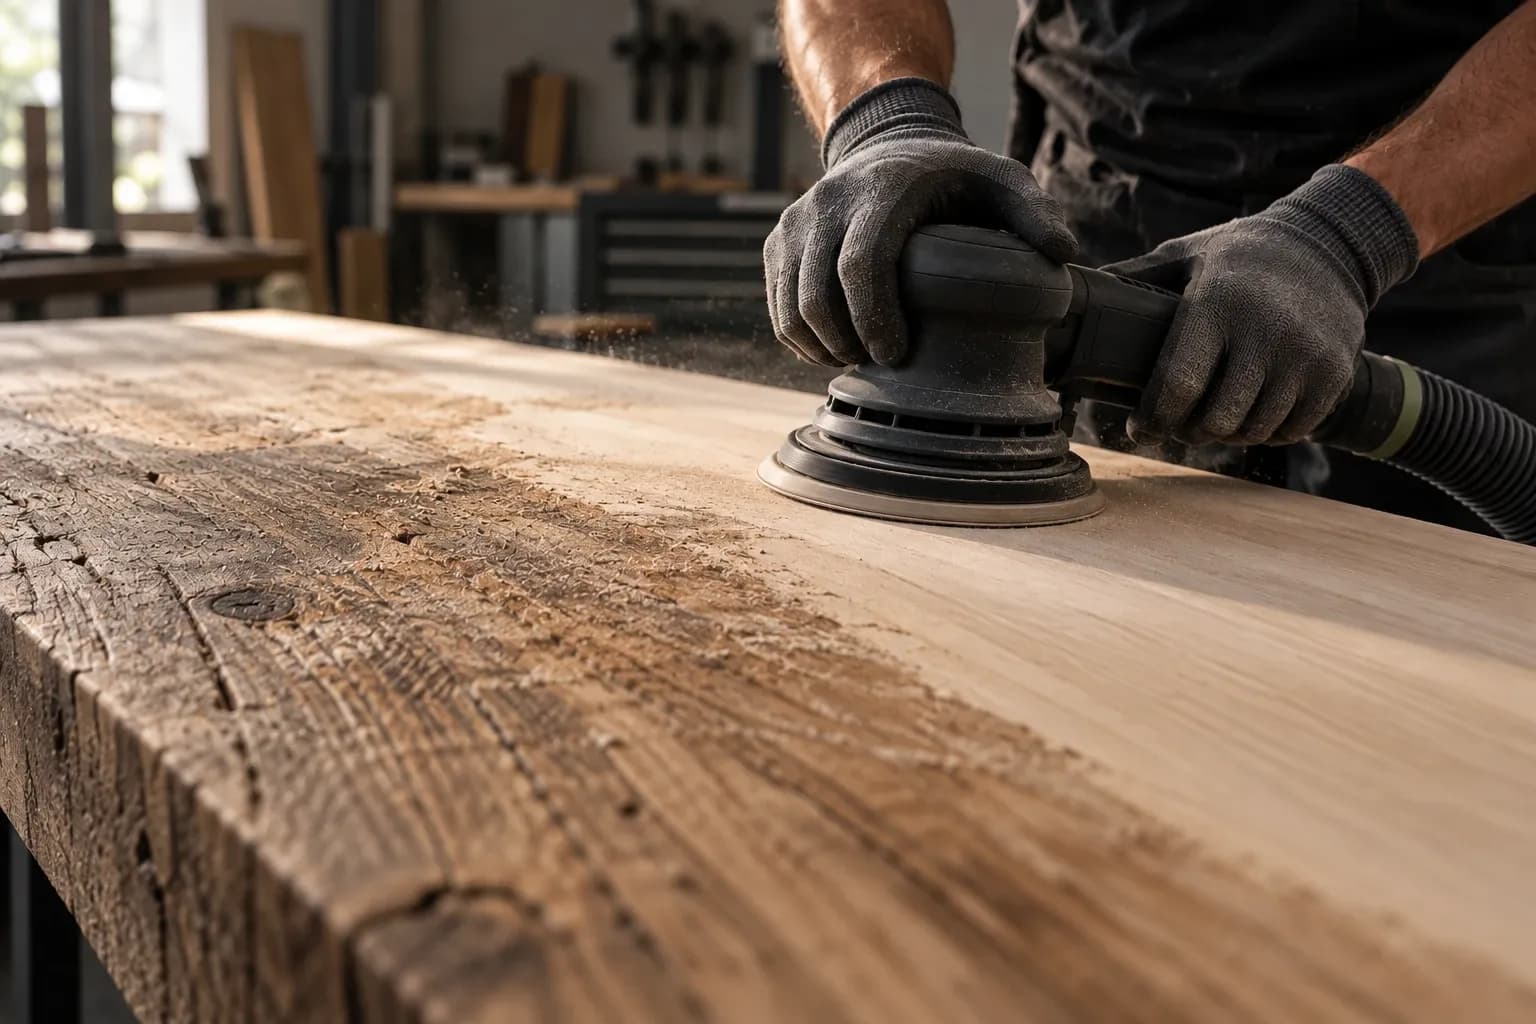 WoodFrom raw to perfect – for furniture, interiors and moreP40 – P320
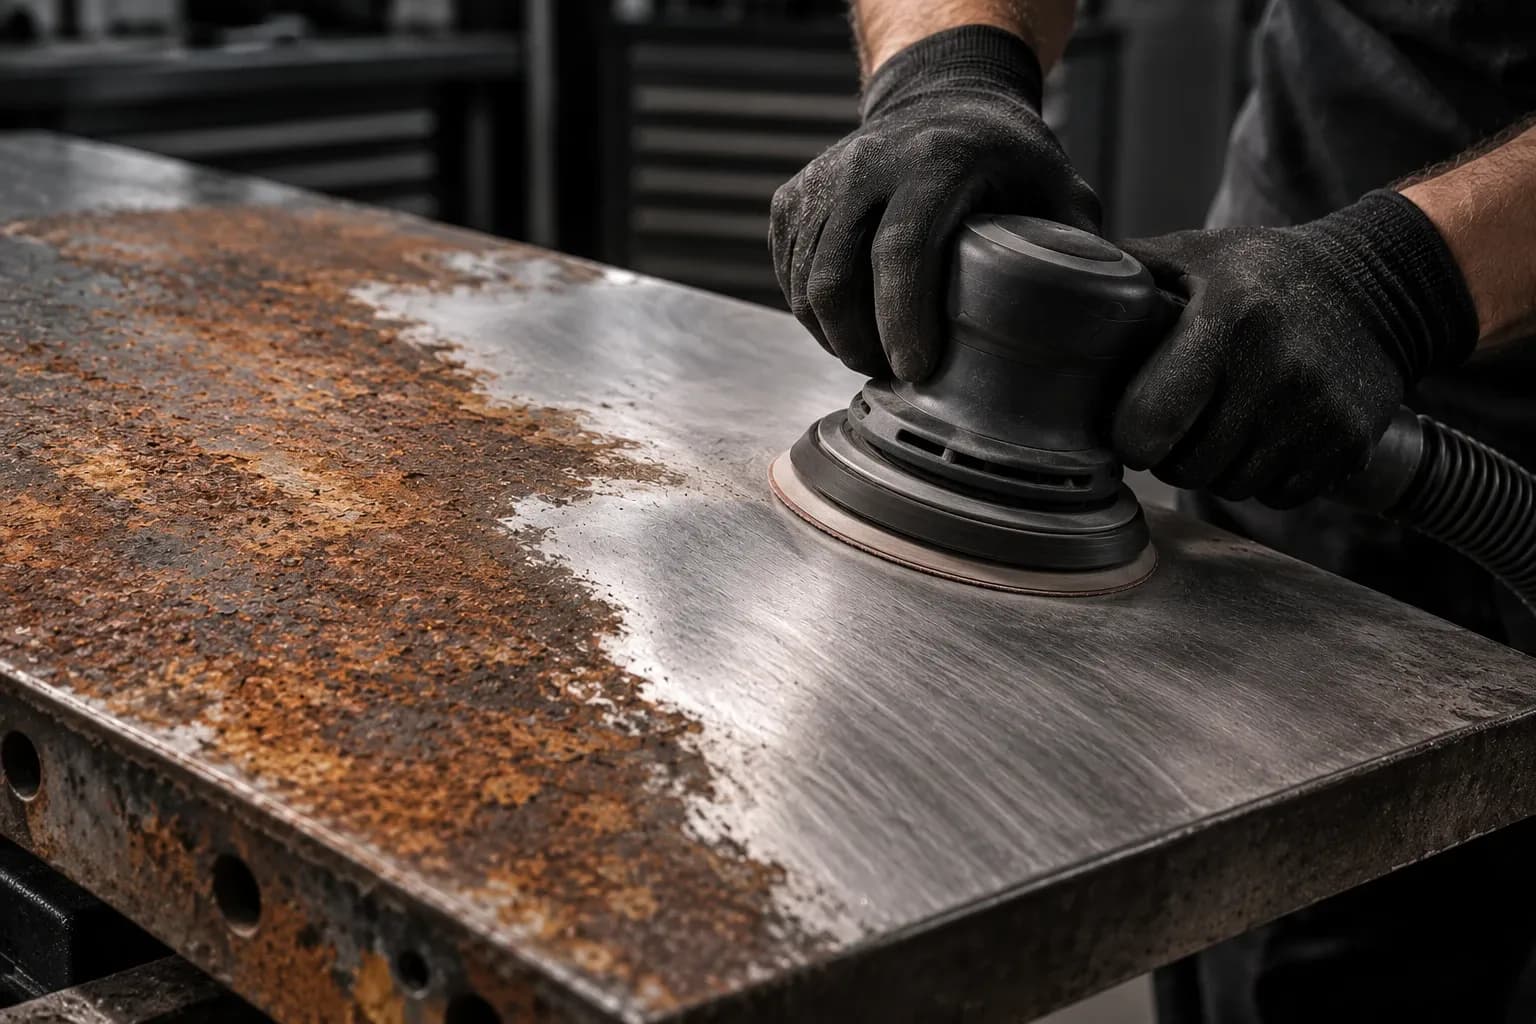 MetalRemove rust, refine surfaces, protect for goodP40 – P400
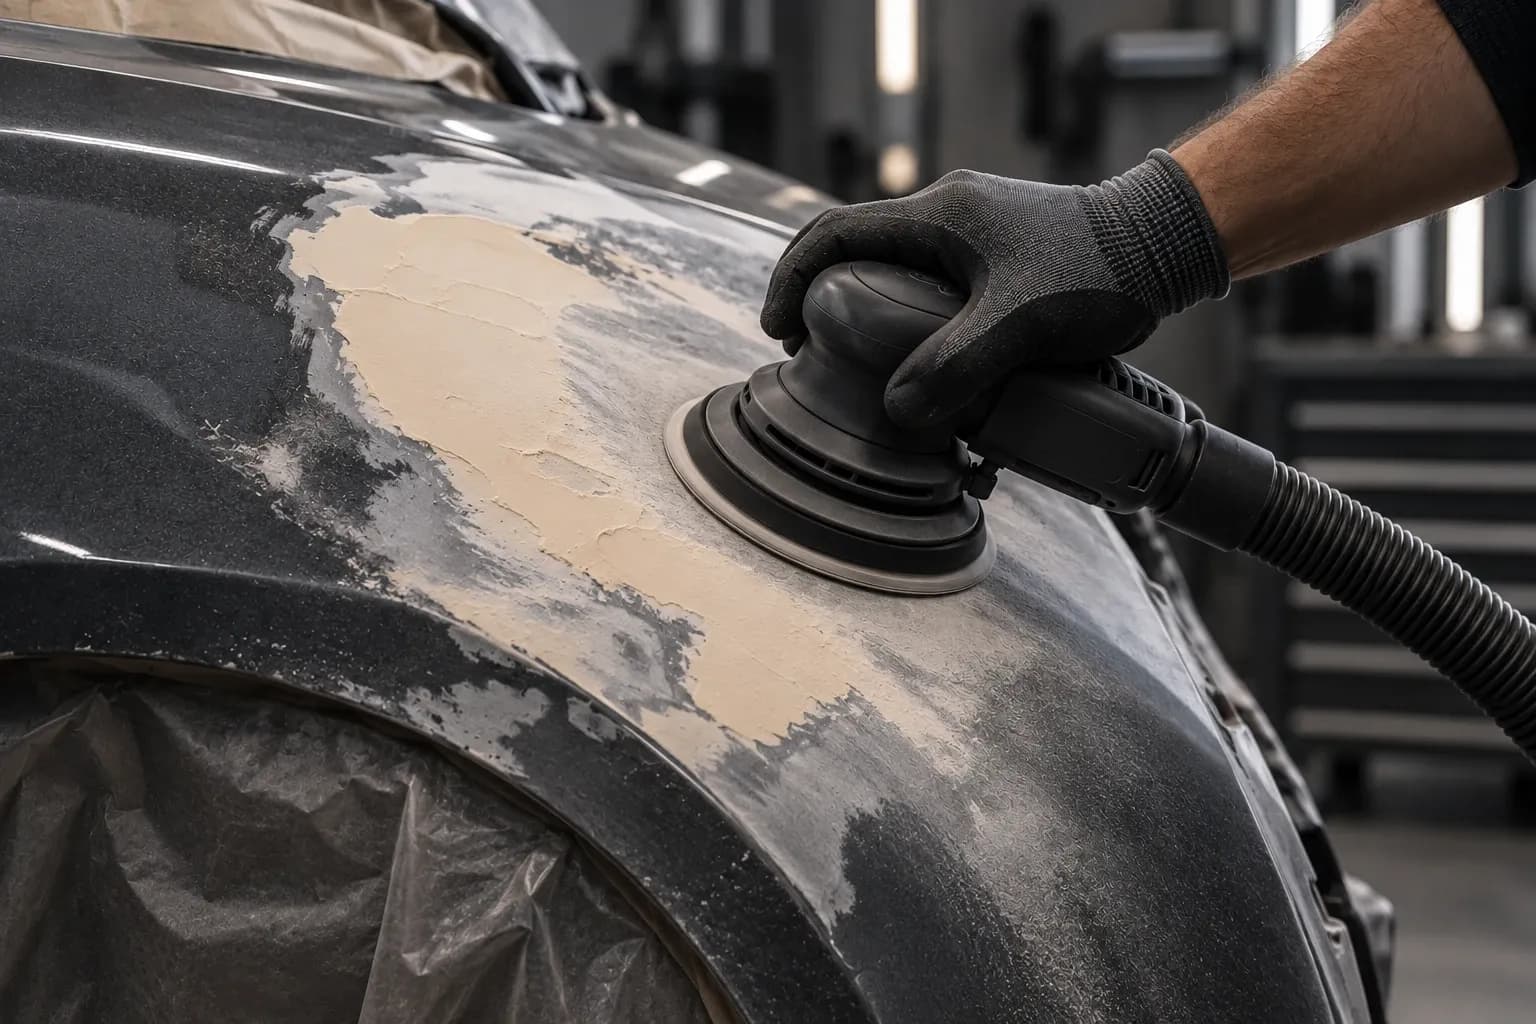 Body fillerLevel fast – shape cleanly – prepare perfectlyP80 – P240
 PrimerFor an even, high-quality paint finishP320 – P600
Still unsure?
The abrasive finder asks about your machine and goal – the material is already set – and tells you the product and grit.
Find abrasives for Plastic →