Plastic & resin · 1 min read
Sanding GRP: boats, motorhomes, body parts
Keying gelcoat, levelling repairs, refining before paint: the sequence from P80 to P600 – and why the dust must stay out of your lungs.
Last updated:
Levelling the repair
Gelcoat and paint preparation
Protection from the dust
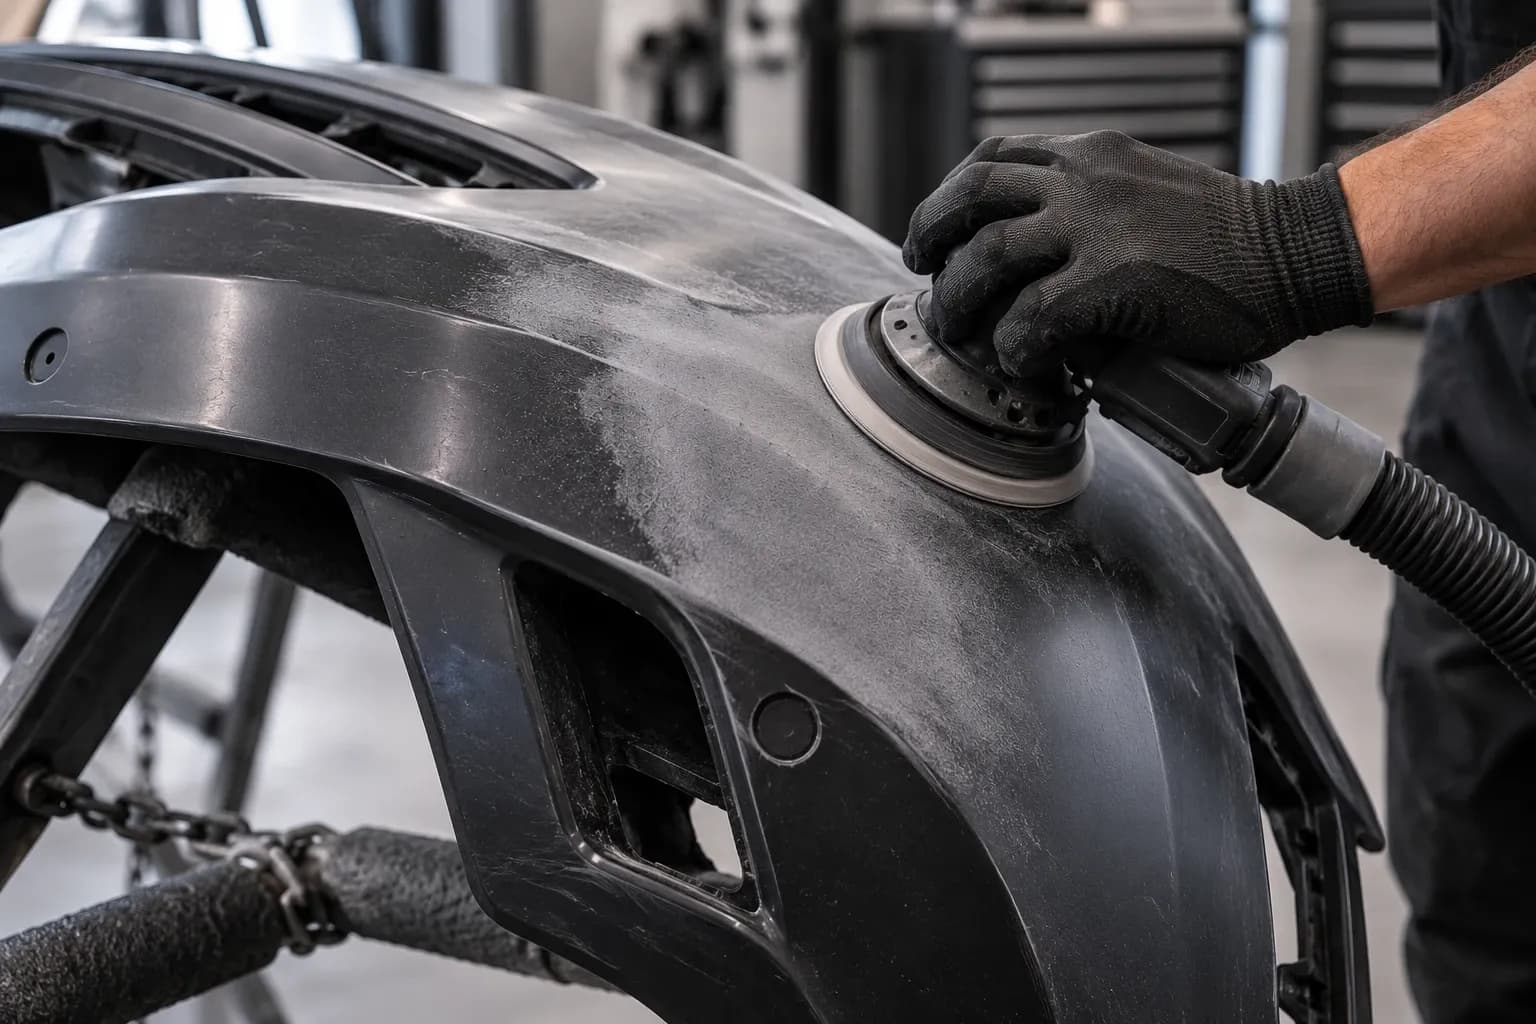
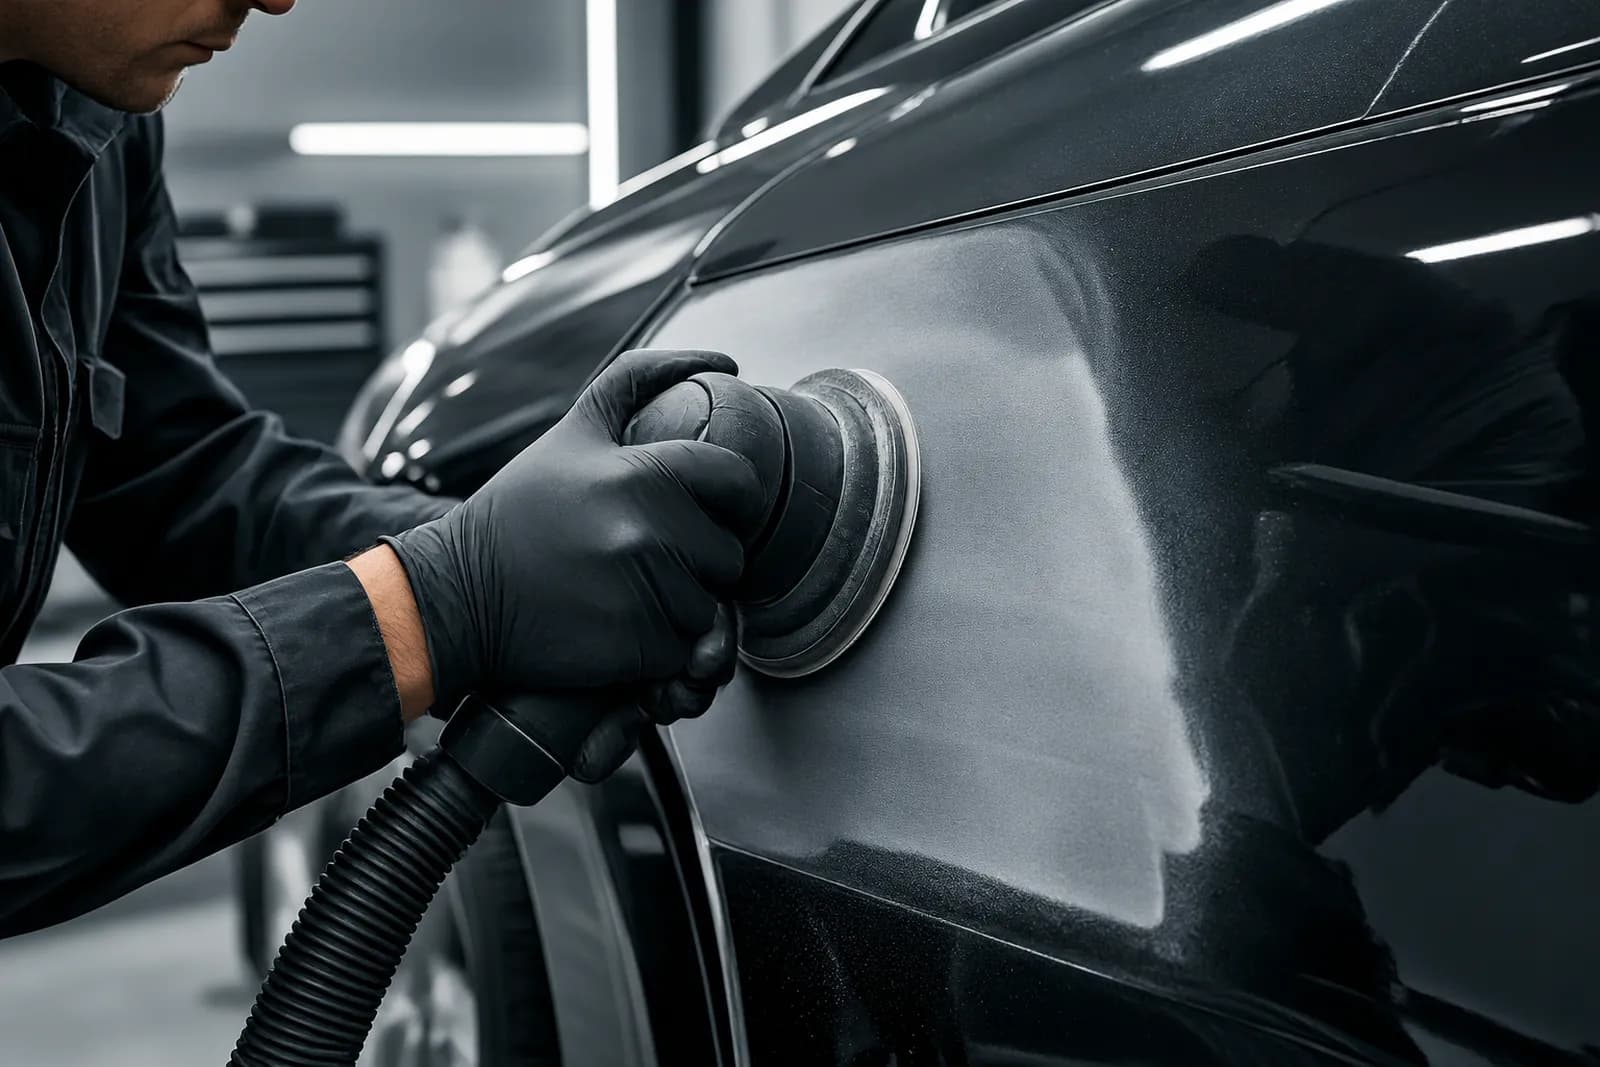
GRP dust contains fine glass fibres that irritate skin and airways. Dust extraction on the machine, at least an FFP2 mask, long sleeves and gloves. Wet sanding binds the dust wherever it is possible.
FAQ
Which grit should I use to key antifouling?
Usually P120 to P180, until the surface is matt and sound. Antifouling dust is toxic: wet sand or use extraction, and wear a mask and gloves.
The whole sequence at once
7 grits, 1 × smallest pack each: PRO NET 150 (10 pcs) P80 · P120 · P180 · P240 · P320 · P400, PRO CUT 150 (10 pcs) P600.
Or as a set: Finish set for high gloss (P1000–P2000) for €59.90 →
incl. VAT, plus shipping