Car & paint · 1 min read
Sanding a filler repair invisibly: feathering the edges
Why filler repairs often still show through the paint – and how to sand them flat with P80, P120 and P180 to P240 and feather the edge out wide.
Last updated:
Flat, not rounded
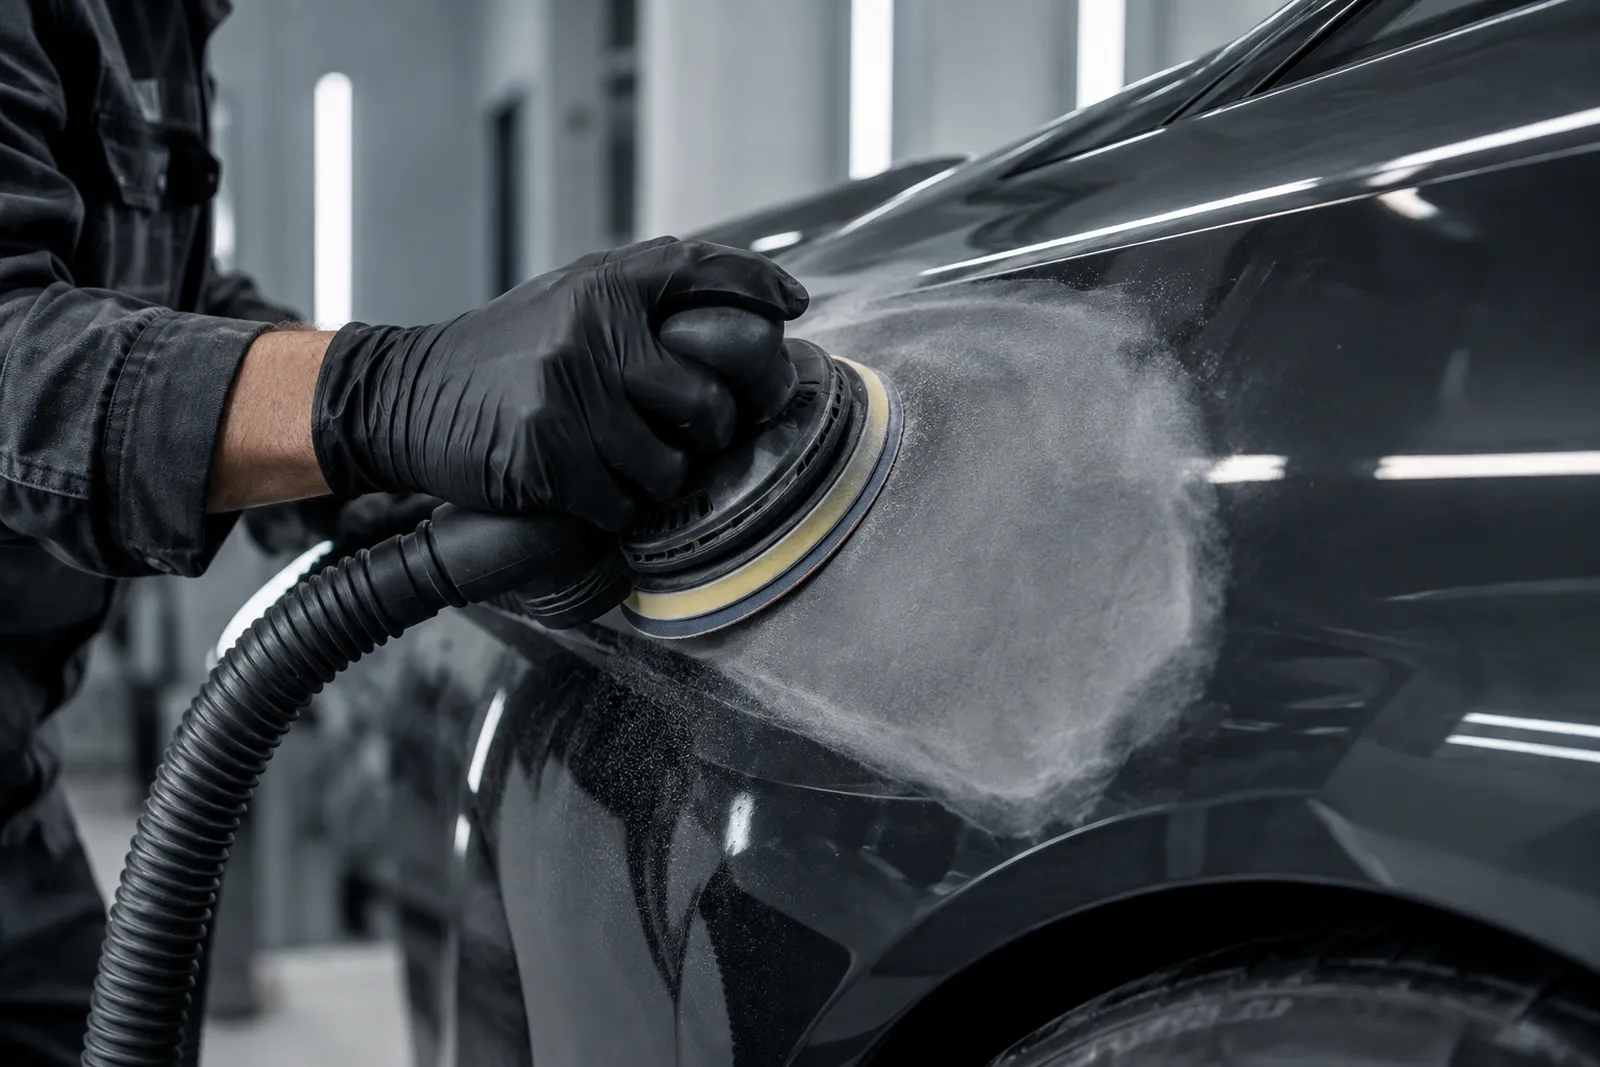
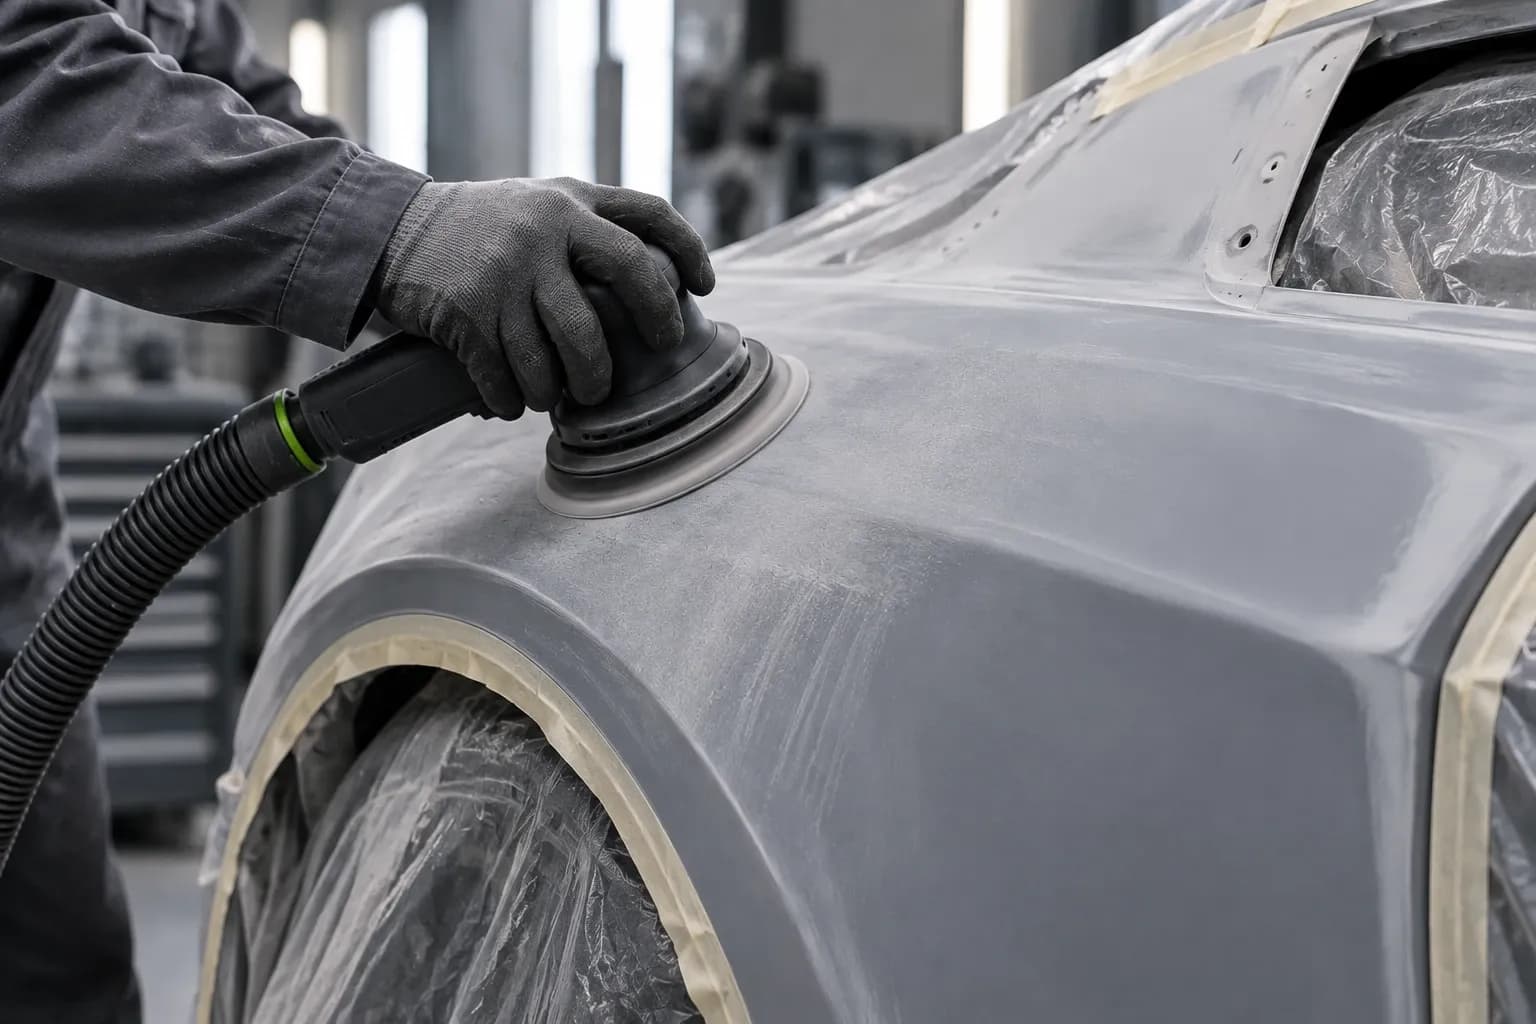
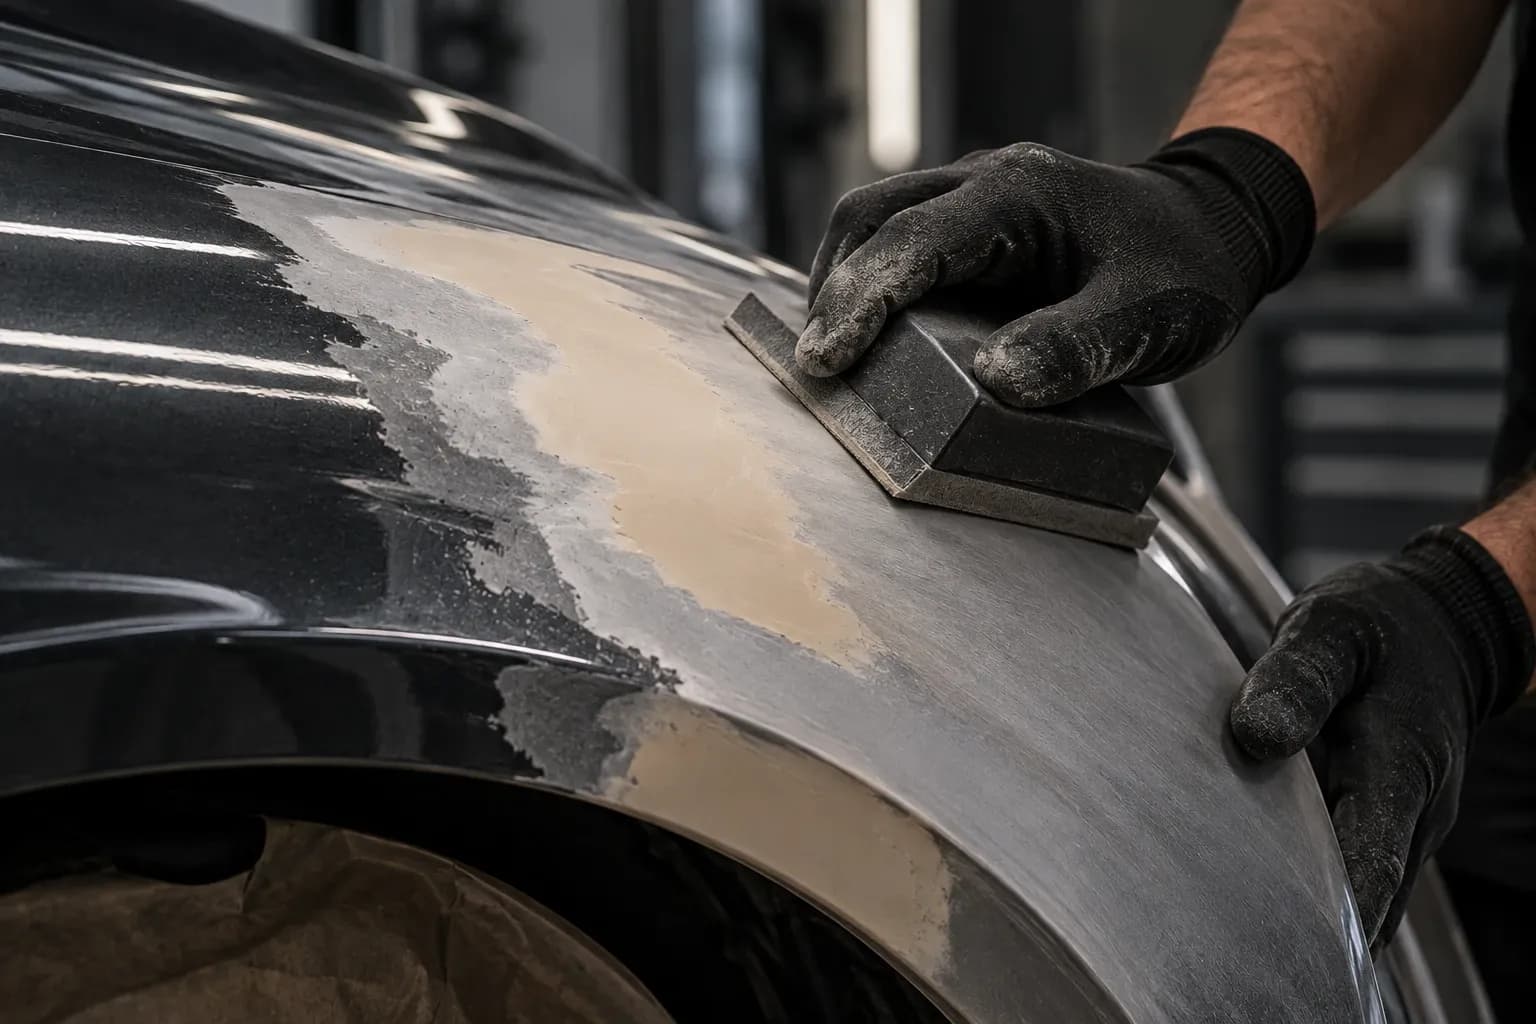
The filler repair has to form one plane with the surface next to it. Shape it with P80 on a long, hard block or on the random orbital sander with a hard backing pad – working beyond the repair, never just on it. A soft pad or your hand follows the bump instead of sanding it away.
Apply guide coat: wherever it stays, there’s a hollow that needs filling again.
Feathering the edge out wide
Fine sanding and primer surfacer
Use P240 to remove the scratches from the previous steps and key the old paint all around. Then apply primer surfacer: it fills the fine scratches and pores in the filler. Without primer surfacer, filler repairs often show through weeks later as the paint sinks.
FAQ
How thick can I apply body filler?
As thin as possible, in several layers rather than one thick one. The maximum thickness per layer is stated on the filler – thick layers shrink afterwards and show through the paint.
Terms in this article
All terms in the sanding glossary →The whole sequence at once
4 grits, 1 × smallest pack each: PRO CUT 150 (10 pcs) P80 · P120 · P180 · P240.
Or as a set: Car paint starter set (P120–P600) for €69.90 →
incl. VAT, plus shipping